Step 1
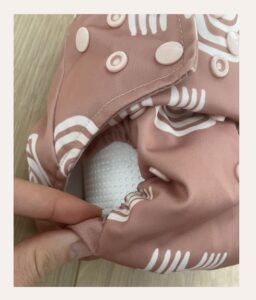
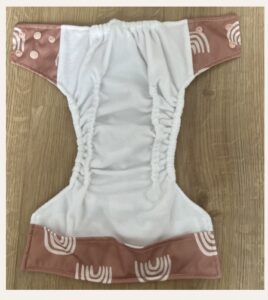
Lay the nappy open and place the insert(s) into the pocket of the nappy. Does it stick out at the back because you adjusted the nappy to its smallest size, but you don’t have our mini inserts? No worries. Fold the standard size insert party double so that it fits perfectly in the nappy and place the folded part in the front where absorbency is needed most. This also works very well for tummy-sleeping babies. Make sure to use two/three inserts in the nappy at nighttime.
Before your child puts the nappy on, make sure the inner gussest point inwards (see image below).
Then place a liner on top of the nappy (if you use one), directly against the bum. It is better not to fold the liner, because the pee needs to go through the liner to get absorbed by the inserts. If it sticks out of the nappy, just tuck it back in.
Step 2
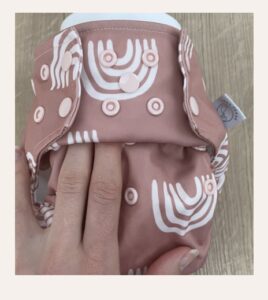
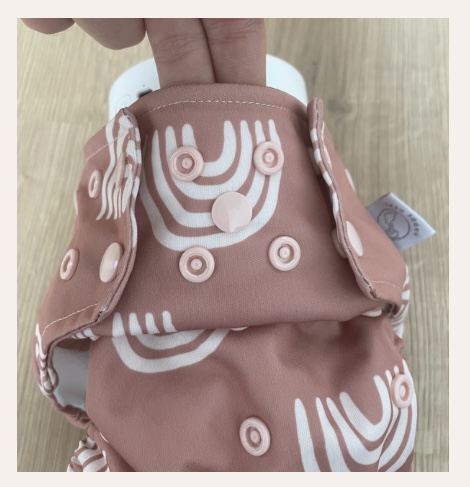
When putting the nappy on, squeeze the middle part so that the nappy sits snugly in the groin. Pull the nappy up to the navel and, if necessary, make it smaller using the rise snaps. The nappy should be fastened as loosely as possible. After adjusting the nappy lengthwise, always check if the insert(s) still lay flat in the pocket. Now pull the waist flaps and snap into place, leaving room for three fingers. Make sure there is no pressure on the nappy and the fabric does not pull to prevent compression leaks.
Step 3
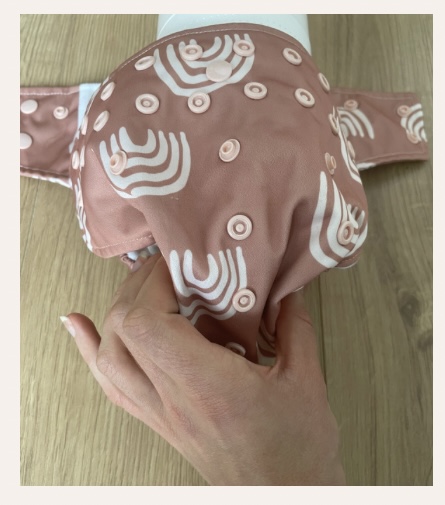
Now tuck all the remaining fabric back into the nappy.
Have you adjusted the nappy to a smaller size? Then push the fabric between the rise snaps UP and do not forget the bit of fabric above the legs.
Finally, fold the elastic edges of the nappy slightly inwards at the groin and bottom so no white fabric is visable.
Are you using a liner? Then push the liner carefully back into the nappy so that it does not stick out anywhere
